Why Homemade Turkey Gravy is a Game-Changer for Your Holiday Table
Thanksgiving, Christmas, or any grand family meal feels incomplete without that silky, savory blanket of gravy poured generously over slices of turkey, mounds of creamy mashed potatoes, and savory stuffing. While store-bought options exist, there’s an undeniable magic and depth of flavor that only homemade
turkey gravy can deliver. Many home cooks shy away, assuming it’s a complicated, time-consuming endeavor. The truth? Crafting an unforgettable homemade
turkey gravy from scratch is not only surprisingly simple but also incredibly fast – often taking just 15 to 20 minutes while your beautifully roasted turkey rests before carving.
This isn't just about adding moisture; it's about amplifying every flavor on your plate. Imagine the subtle sweetness of maple, the savory notes of herbs like rosemary and thyme, and the rich, roasted essence of turkey all concentrated into a luscious liquid. This "liquid gold" comes directly from your roasting pan in the form of pan drippings, the invaluable by-product of your main event. It’s a tragedy to let these flavorful drippings go to waste when they are the foundation for the best
turkey gravy you’ll ever taste. Forget canned or powdered mixes; with our foolproof method of skimming, stirring, and seasoning, you're about to become a gravy guru.
The Essential Foundation: Mastering Pan Drippings
The heart and soul of any outstanding
turkey gravy lies in the pan drippings. These aren't just random liquids; they're a concentrated essence of all the flavors that have rendered from your turkey during roasting – fats, juices, herbs, spices, and any glazes like maple syrup or butter you might have used. Tapping into this rich resource is the first crucial step.
Skimming the Fat Like a Pro
After your turkey is out of the oven and resting (a critical step for a juicy bird!), carefully pour all the pan drippings into a heat-proof measuring cup or, ideally, a fat separator. This next step is paramount:
skimming the fat. While some fat is essential for flavor and creating the roux (more on that shortly), too much will result in a greasy, unappetizing gravy.
*
Warm is Key: Skim the fat while the drippings are still warm. The fat will separate more easily and rise to the top, making it simpler to spoon off or pour from a fat separator. If you let them cool too much, the fat will solidify, making separation more cumbersome.
*
Fat Separator Advantage: If you own a fat separator, now is its moment to shine. This handy tool makes the process virtually foolproof, allowing you to pour the pure pan juices from the bottom, leaving the fat behind.
*
No Separator? No Problem: If you don't have a fat separator, gently spoon the top layer of fat into a separate bowl until you have the desired amount (typically 2-4 tablespoons). The remaining, darker liquid beneath is your pure pan juice – the concentrated flavor base for your gravy. Make sure to measure both the fat and the remaining juices, as these measurements will guide your flour and stock additions.
To Giblets or Not to Giblets?
You might find a small bag of giblets (the neck, heart, and sometimes liver) tucked inside your turkey. Some traditional recipes advocate simmering these with water to create a giblet stock, adding an extra layer of depth to the gravy. This is entirely optional. If you prefer a smooth, classic
turkey gravy without any bits, feel free to discard them as the reference suggests. However, if you're keen on an even more profound, umami-rich flavor profile, you can simmer the neck and giblets in a small pot with water or chicken stock for about an hour while the turkey roasts. Strain the liquid and use it as part of your stock for the gravy. Either way, delicious gravy awaits!
Foolproof Gravy in Minutes: Skim, Stir, & Season for Rich Flavor
With your pan drippings separated and ready, the actual gravy-making process is astonishingly quick and straightforward. It hinges on three core actions: creating a roux, slowly incorporating liquid, and seasoning judiciously.
The Magic of the Roux
A roux is simply a mixture of fat and flour cooked together, acting as the primary thickening agent for your gravy while also adding a nutty depth of flavor.
1.
Melt the Fat: In a saucepan over medium heat, melt the reserved turkey fat. You'll typically need 2-4 tablespoons of fat for every 2 cups of gravy you plan to make. If you don't have enough turkey fat, supplement with butter or a neutral oil.
2.
Whisk in Flour: Once the fat is melted and shimmering, gradually whisk in an equal amount of all-purpose flour (e.g., 2-4 tablespoons of flour for 2-4 tablespoons of fat).
3.
Cook the Roux: Continue whisking constantly for 1-2 minutes. The mixture will form a paste and begin to bubble. Cooking the roux properly is vital to eliminate the raw flour taste. For a lighter gravy, cook until it's pale golden; for a deeper, nuttier flavor, cook until it's a light brown, similar to peanut butter.
The Art of the Whisk: Adding Liquid Gradually
This is where many home cooks encounter lumps, but a simple trick ensures a silky-smooth finish every time.
1.
Warm Your Stock: Always warm your chicken or turkey stock (and the reserved pan juices) before adding them to the roux. Cold liquid hitting a hot roux is a recipe for lumps. Gently heat your stock and pan juices in a separate pot or microwave until warm, not boiling.
2.
Pour Slowly, Whisk Continuously: With your warm roux ready, begin to slowly pour the warm pan juices and stock into the saucepan, whisking vigorously and continuously as you go. This gradual addition and constant whisking prevent lumps from forming, allowing the roux to emulsify smoothly with the liquid. You'll notice the gravy start to thicken almost immediately.
3.
Simmer and Thicken: Bring the gravy to a gentle simmer, continuing to whisk occasionally. Let it simmer for 3-5 minutes, allowing it to thicken to your desired consistency.
4.
Adjusting Consistency:
*
Too Thick? Simply whisk in a little more warm stock or water until it reaches your preferred pourable consistency.
*
Too Thin? Allow the gravy to simmer for a few more minutes, stirring occasionally, to reduce and thicken naturally. Be patient, as it will thicken further as it cools slightly.
The Final Flourish: Taste and Season Last
This step is non-negotiable for perfectly balanced flavor. Your pan drippings are already seasoned from the turkey, so adding salt too early can easily lead to an overly salty gravy.
*
Taste First: Once the gravy has reached your desired consistency, taste it.
*
Season Mindfully: Add salt and freshly ground black pepper to taste. You might find it only needs a pinch of salt, or perhaps none at all, depending on the salt content of your drippings and stock. This cautious approach guarantees a perfectly seasoned gravy every time.
Elevate Your Gravy: Customization & Expert Tips for the Ultimate Finish
Your basic
turkey gravy is now delicious, but with a few simple additions and techniques, you can transform it into an absolute masterpiece, tailored to your palate.
Flavor Boosters & Adaptations:
*
Fresh Herbs: Infuse classic Thanksgiving flavors by stirring in finely chopped fresh rosemary, thyme, or sage during the last few minutes of simmering. The heat will release their aromatic oils.
*
Garlic Kick: For a subtle garlic note, add a pinch of garlic powder or a teaspoon of finely minced garlic to the roux as you're cooking it.
*
Umami Depth: A splash of soy sauce, Worcestershire sauce, or even a tiny dab of miso paste can significantly deepen the savory, umami notes without altering the fundamental flavor of your
turkey gravy. Add these sparingly at the end and taste as you go.
*
Wine or Sherry Brightness: Deglaze your roasting pan with a dry white wine or dry sherry after removing the turkey, scraping up all the flavorful browned bits. Reduce it slightly, then add it to your gravy with the stock for a sophisticated brightness and depth.
*
Creamy Indulgence: Whisk in a tablespoon or two of heavy cream or half-and-half at the very end for a richer, velvety texture and a touch of luxuriousness.
*
Gluten-Free Gravy: Easily make your gravy gluten-free by swapping the all-purpose flour for a gluten-free all-purpose flour blend (ensure it contains xanthan gum for thickening) or by using cornstarch as a thickener (dissolve cornstarch in a little cold water first before whisking into simmering gravy).
Refining Texture and Serving Like a Pro:
*
Strain for Silkiness: For an ultra-smooth, restaurant-quality finish, pour your finished
turkey gravy through a fine-mesh sieve into a clean bowl. This removes any small lumps, herb stems, or stray bits, ensuring a perfectly velvety texture. This step is optional but highly recommended if you want that polished look.
*
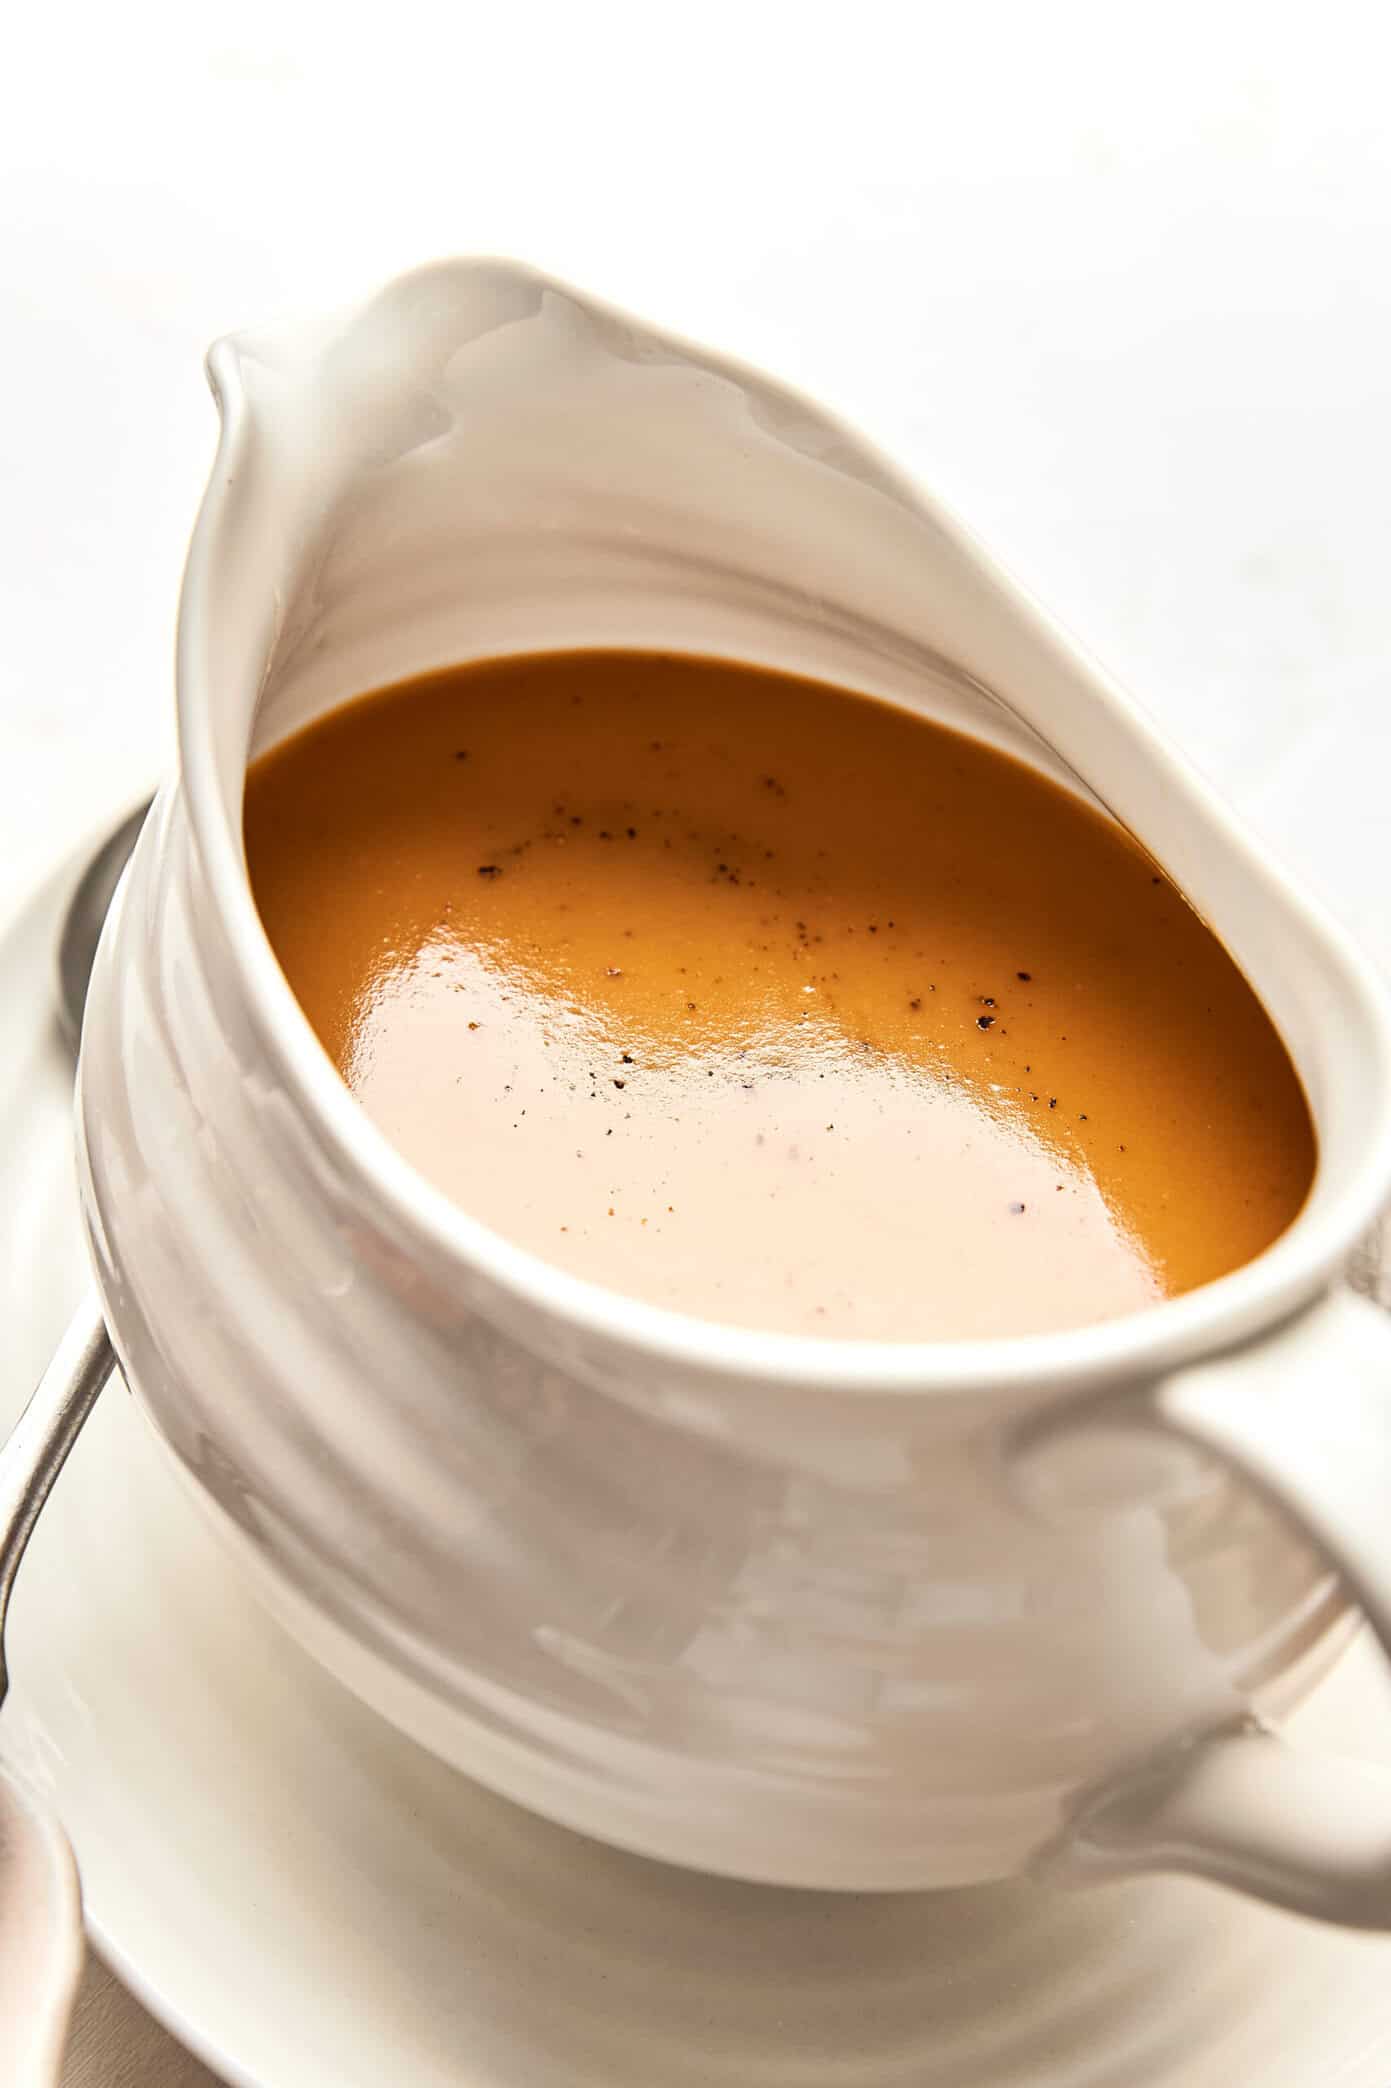
Keep it Warm: Gravy, like all good things, is best served warm. To ensure it stays hot throughout your meal, pre-warm your gravy boat. Fill it with hot (not boiling) water for a few minutes, then empty it just before pouring in your freshly made gravy. This simple trick makes a huge difference.
For more inspiration on how to transform your gravy into a gourmet masterpiece, explore our guide on
Master Delicious Turkey Gravy: Customize with Herbs, Wine, or Umami.
Conclusion: Your Ultimate Gravy Triumph
Creating a truly delicious, homemade
turkey gravy doesn't have to be a source of stress during the holidays. By understanding the value of your pan drippings, mastering the simple steps of skimming the fat, creating a proper roux, whisking in warm liquids, and seasoning to perfection, you'll achieve a rich, flavorful sauce every time. This foolproof method not only saves you time but elevates your entire meal, proving that the simplest ingredients, handled with a little know-how, can yield the most impressive results. So go ahead, embrace the drippings, whisk with confidence, and prepare for rave reviews. Your holiday table (and your taste buds!) will thank you. If you're looking for a quick start, check out our
Homemade Turkey Gravy: Easy 20-Minute Recipe with Pan Drippings.